In Laser Wing, I used a lot of tricks in Unity to achieve a game that mimics the style of older shoot-em-up titles.
Looking at the level first, we originally envisioned for the level’s environment to be randomised and continue endlessly. I first created blocks that fix the width of the screen that move along slowly. Like most games of the genre, the player doesn’t actually move, everything moves around them! The measurements of these environment blocks were then given to Lewis Sanderson to create several variants. He created a selection of buildings and debris to the fix together and compose into these blocks to pass onto me to put into the game.
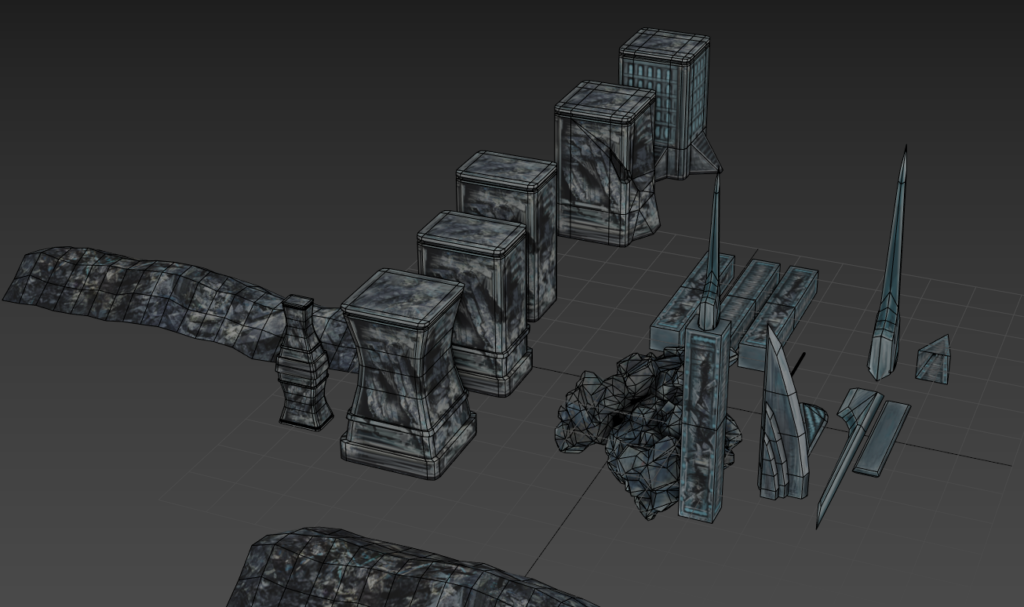
There were three environment blocks at any time in the game lined up. This ensured that the player would never see any empty spaces. Once a block was completely off screen we deleted it and then spawned a random one at the end and repeat this process.

In the end we decided this wasn’t the right approach. Whilst this method was effective, we wanted to have the environment more dynamic. Hand placing the environment means the level can have more varied backgrounds and settings. In the final game we have a tunnel sequence that wouldn’t be possible with the original approach. We kept the assets for the environment but instead put them in a specific order.
At the finale of the level with the boss, we wanted that sequence to continue indefinitely until you defeat the boss or lose, so I ended up reusing and adapting the scripts.
Since the player and camera remains stationary we had to find some creative ways to add a sense of movement for the player. We had the environment slowly move horizontally as described earlier but we also have a background later that moves slightly slower as well to add that sense of depth.
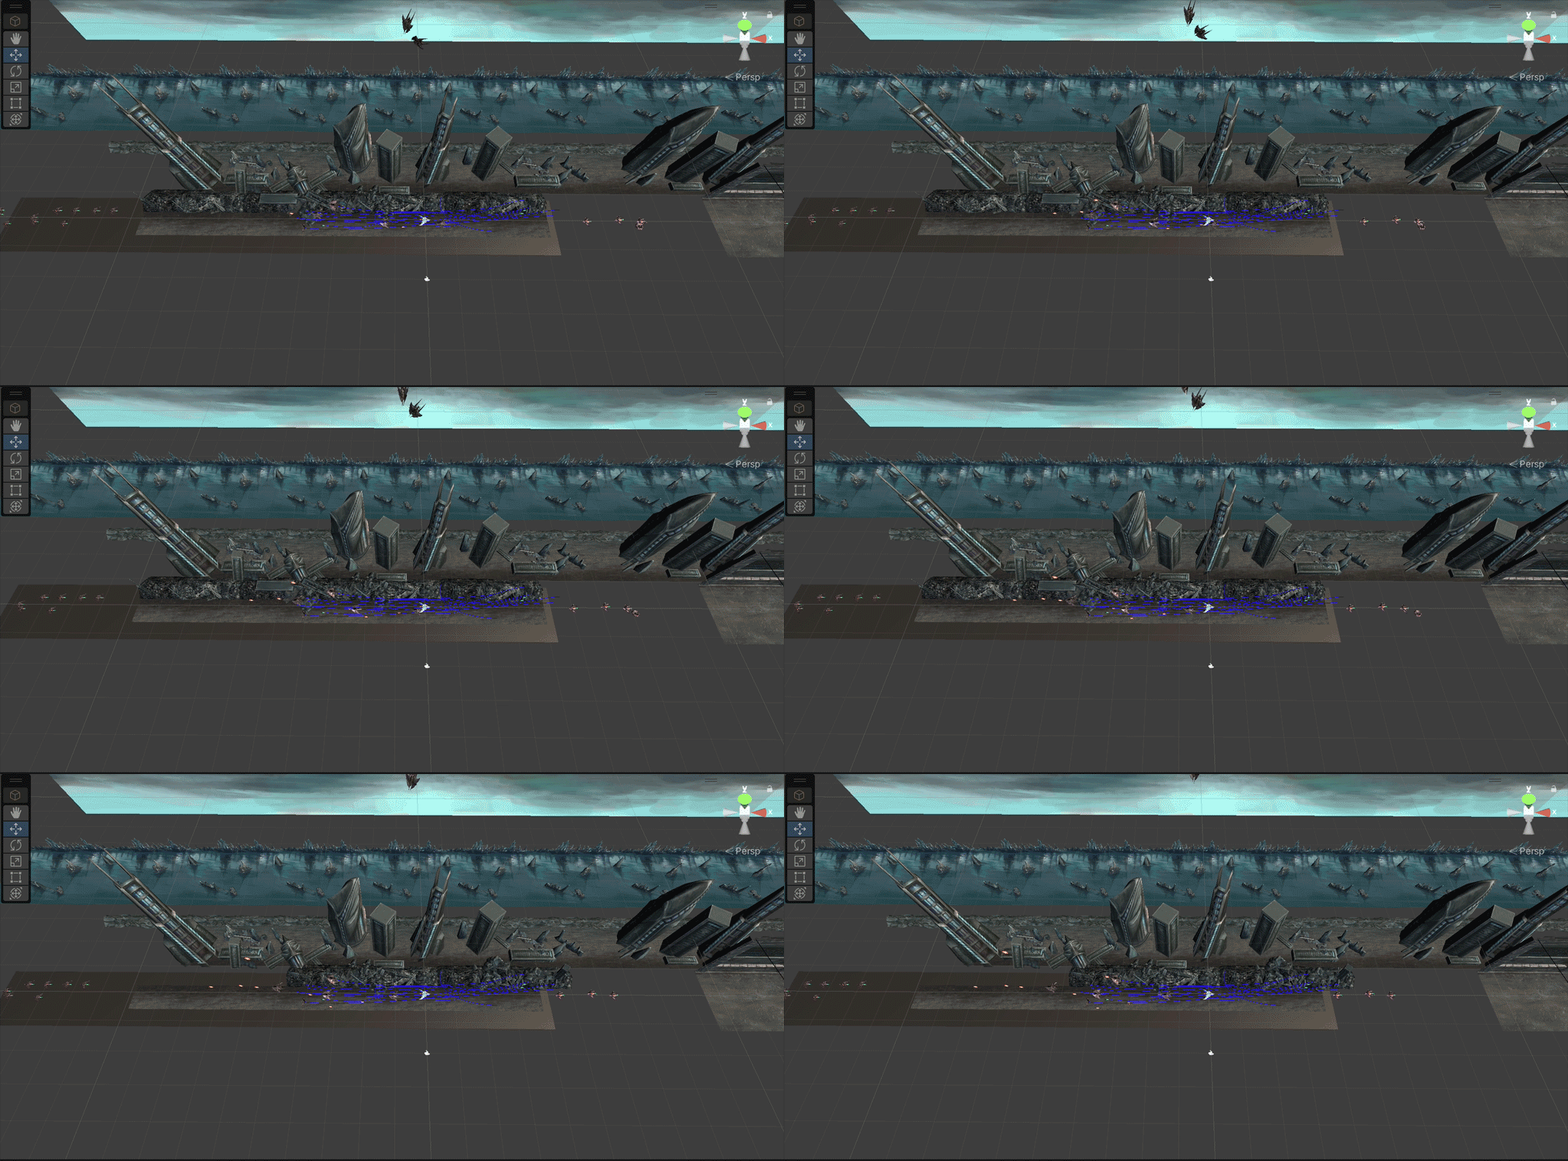
Moving the player vertically didn’t have a sense of height so we mapped the opposite input of the player’s movement to the environment. This causes it to tilt up and down making the 3D elements of the background stand out as well. Below is the normal game perspective side by side with camera at a different angle to better see the effect
Another perspective trick we use is actually two cameras rendering the scene at the same time. I found early on that rendering a 3D player with perspective made the game considerably harder for the player. When you went to the edges of the screen the player would no long be side on with the camera making it hard to see where you were.
To fix this all the environment objects are rendered with a standard perspective camera, but then there is a orthographic camera overlaying all the ships and projectiles flat to the camera.
However the enemy tanks were the exception here, adding them to the orographic camera made them feel separated from the ground they were supposed to be on. I had to render these using the perspective camera and make the hit-box longer than it really is to ensure you cannot miss the tank as you are usually slightly further towards the camera!
Another technique we implemented was with the enemies. Most of them don’t actually fly towards you and are spawned slightly ahead of time off screen via a timer. I can then assign a path to follow as well as firing frequency if needed. The paths can also be reversed, rotated, or scaled if we want some new patterns such as enemies flying from the left of the screen.
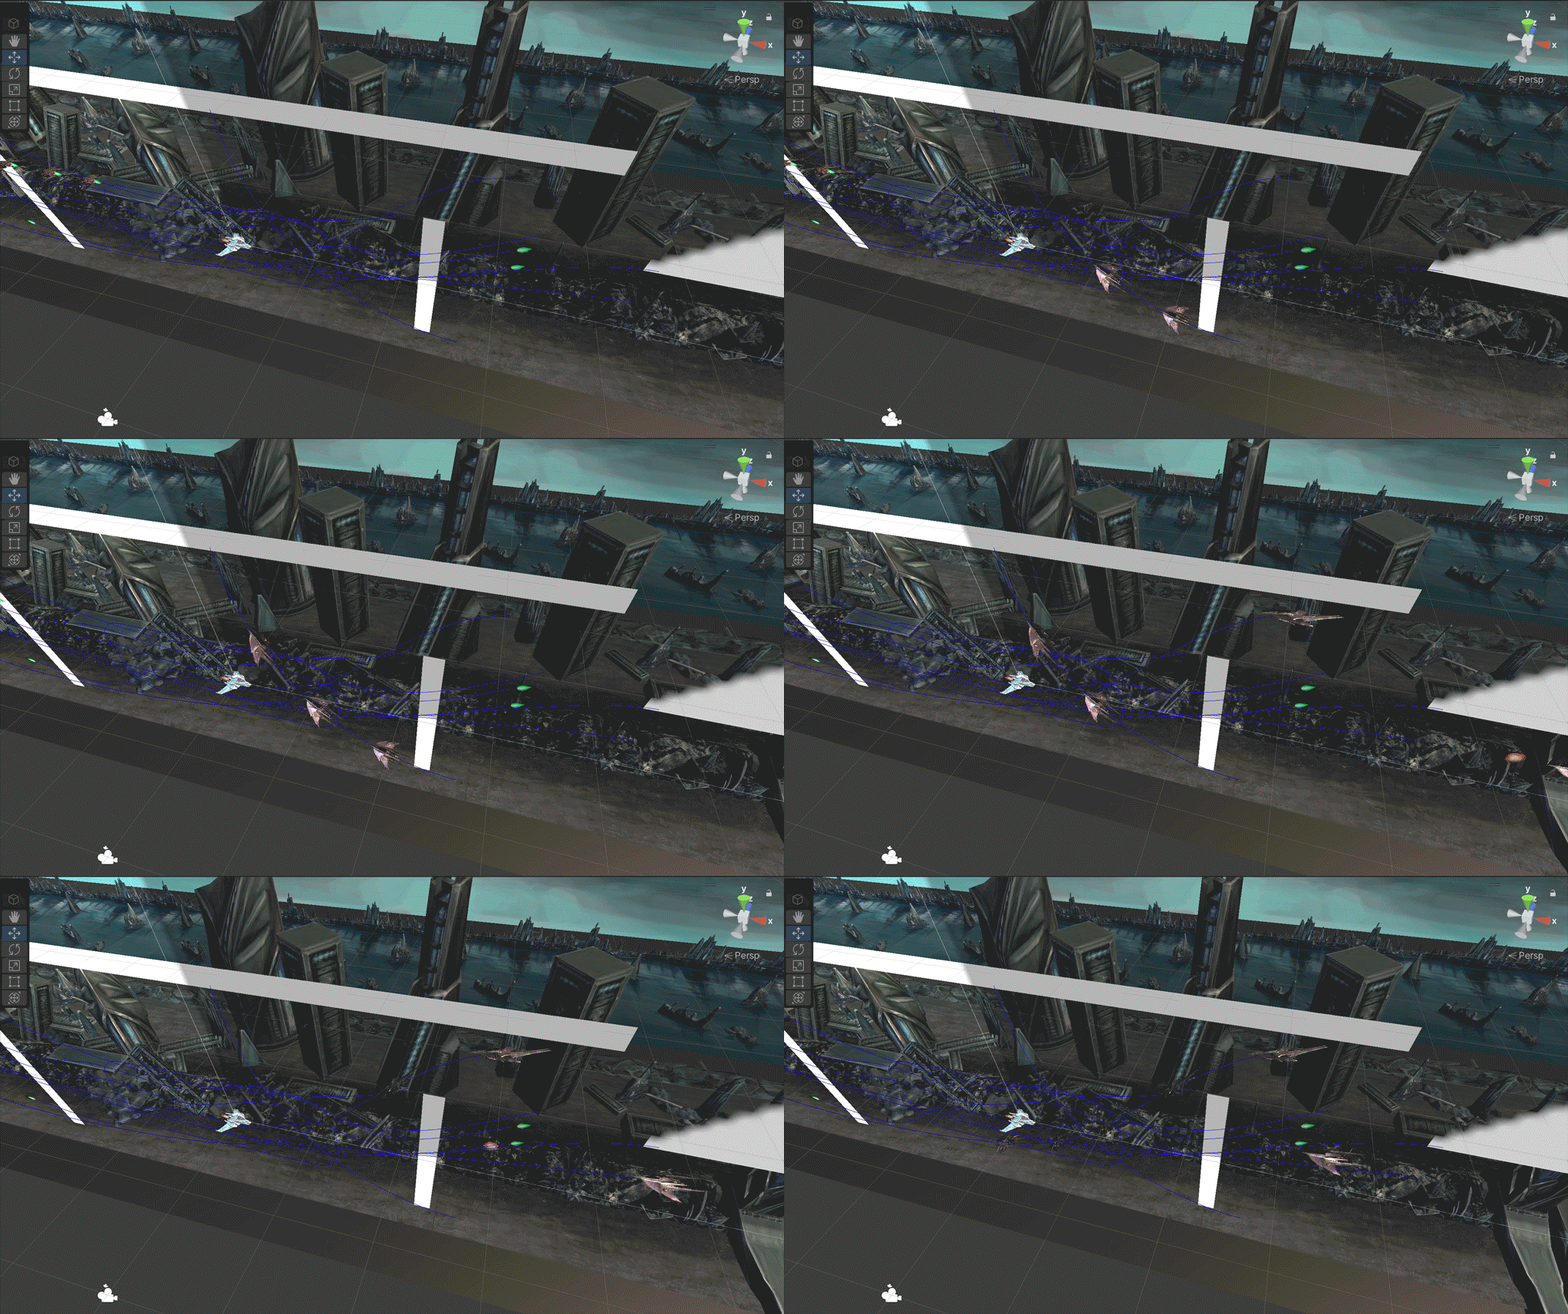
You can also see the boundaries here so if enemies do start firing before they reach the screen the bullets are destroyed. The same boundary stops the player shooting off-screen.
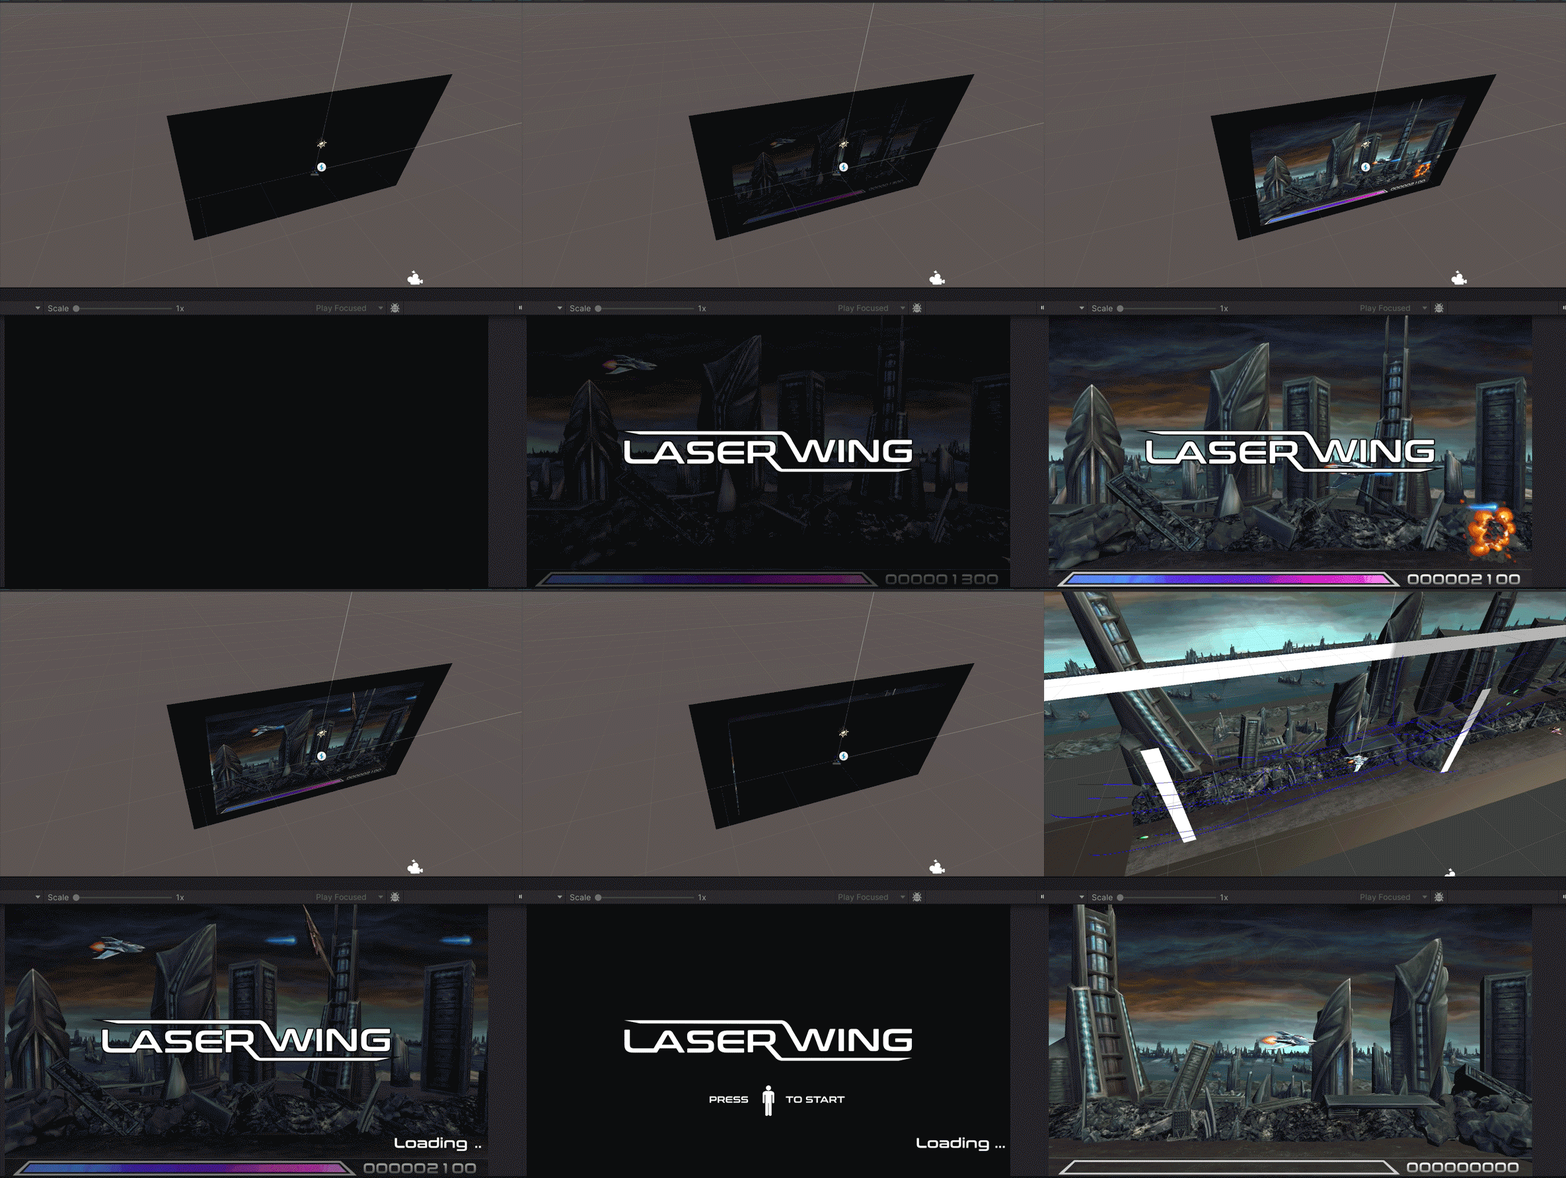
One final quick camera technique we use is the fade in/out. There’s no fancy effects here, simply a black plane in front of the camera! When the game loads in and out we simply change the opacity. The initial screen where the game plays in demo mode waiting for someone to start is simply a video on a plane as well!
Next time we’ll be looking at how we designed the User Interface.
