The process for creating the enemies for Laser Wing started with gameplay prototyping. I outlined what enemy types the player should encounter in the game based on their behaviours. For example many games have an enemy that flies in a straight line, and another that will fire at you.
I blocked out a level layout with simple gameplay and grey boxing. I prototyped the behaviours in C# with some enemies going across the screen and others using a pathing system. I used Unity splines and coded it so that I can draw a spline and the enemy will follow the route (you can see the blue splines in the image below). In the final game they have a common enemy script, and you can choose from a drop-down the type of enemy it is such as flying or ground.


The enemies at this point were all prototyped as cubes and we needed to have distinct designs for each enemy type so the player can easily distinguish the different behaviours quickly whilst playing.
Lewis designed some of the basic flying enemies first in 3D before giving them to Rob to refine and add materials.
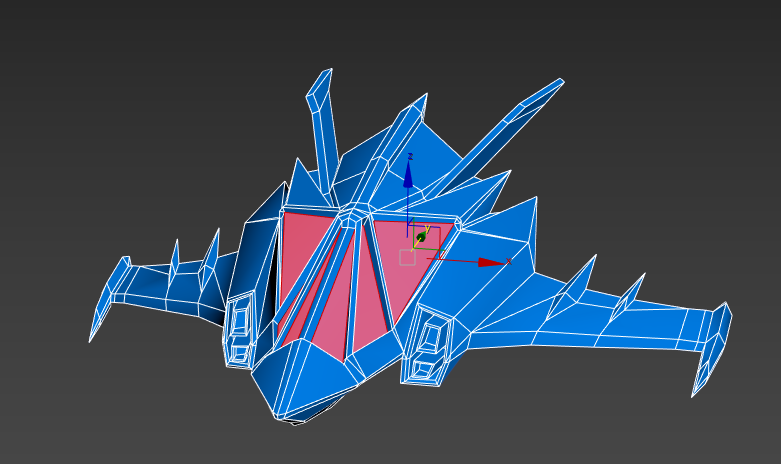
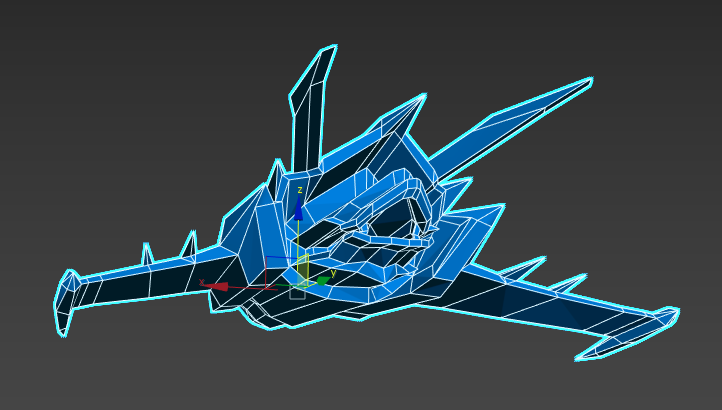
We needed all the ships to share a consistent enough design to feel like enemies from the same army, but again, different enough for the player to see their type in-game. In the concept phase, we focused on the sharper shapes to achieve this.
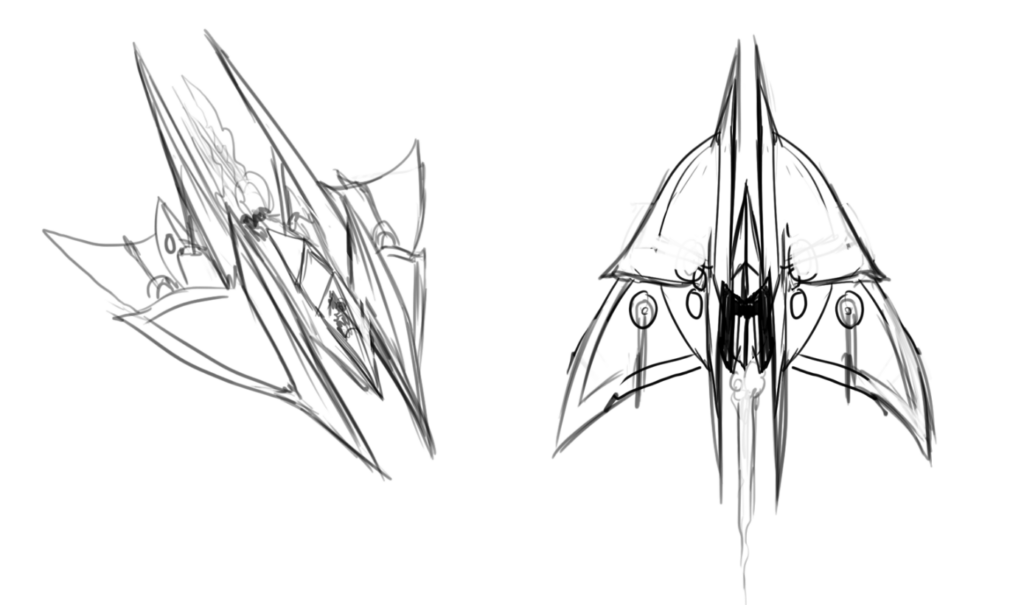
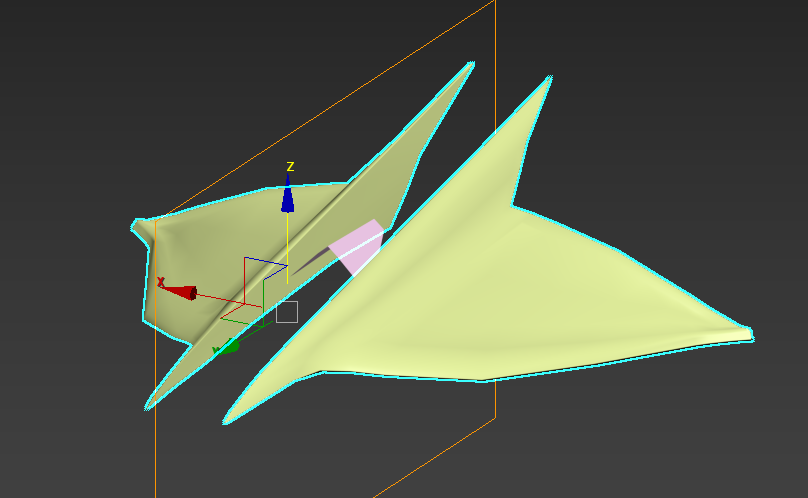
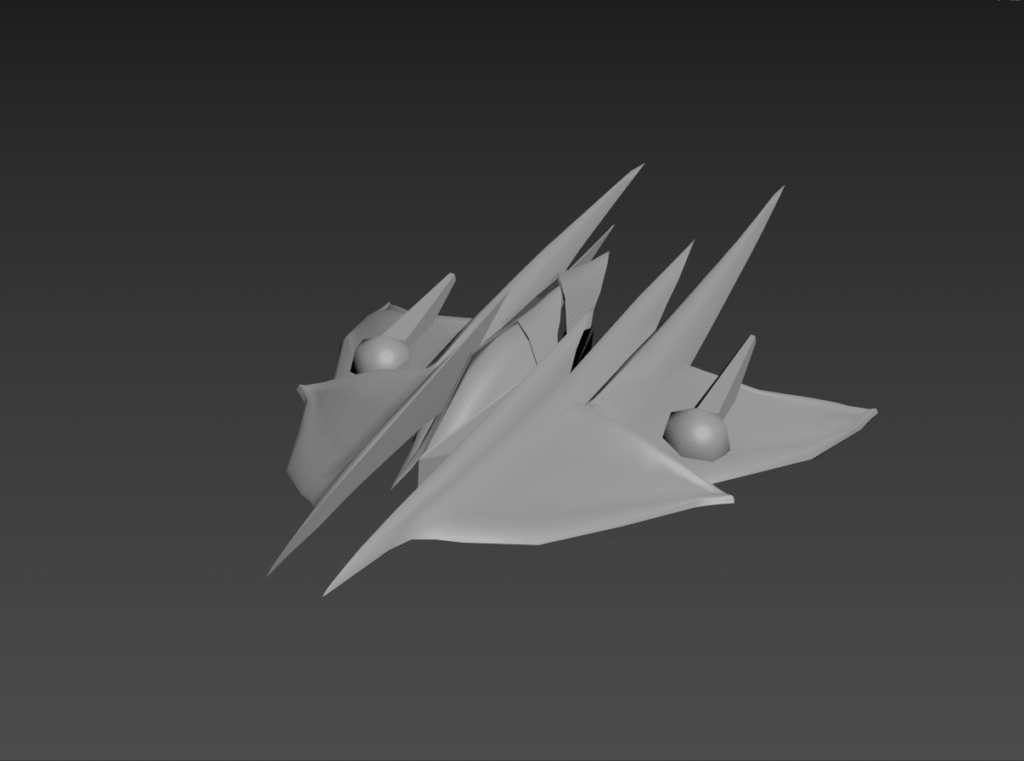
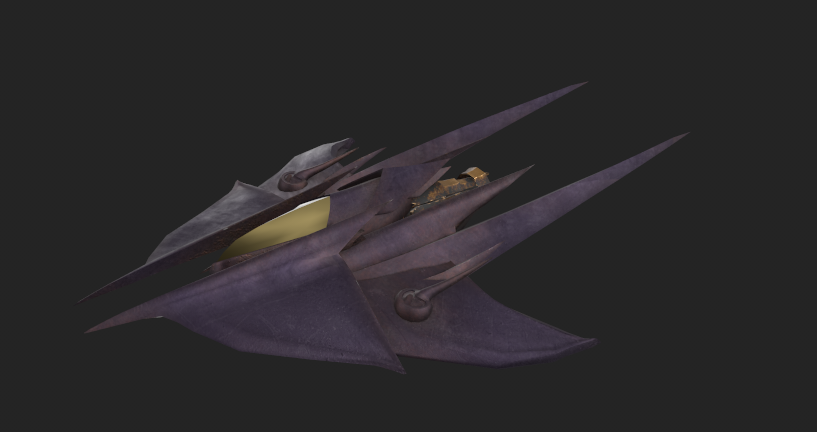
Following the same process as before, Lewis Sanderson sketched out the reference design first and the basic 3D shape in 3DS Max before Rob Kavanagh developed the model with more details and then adding the materials/textures.
For enemy variety, we wanted the player to think about the edges of the screen as well. R-Type has enemies walking on the ground and the on the ceiling like this walking missile firing mech below
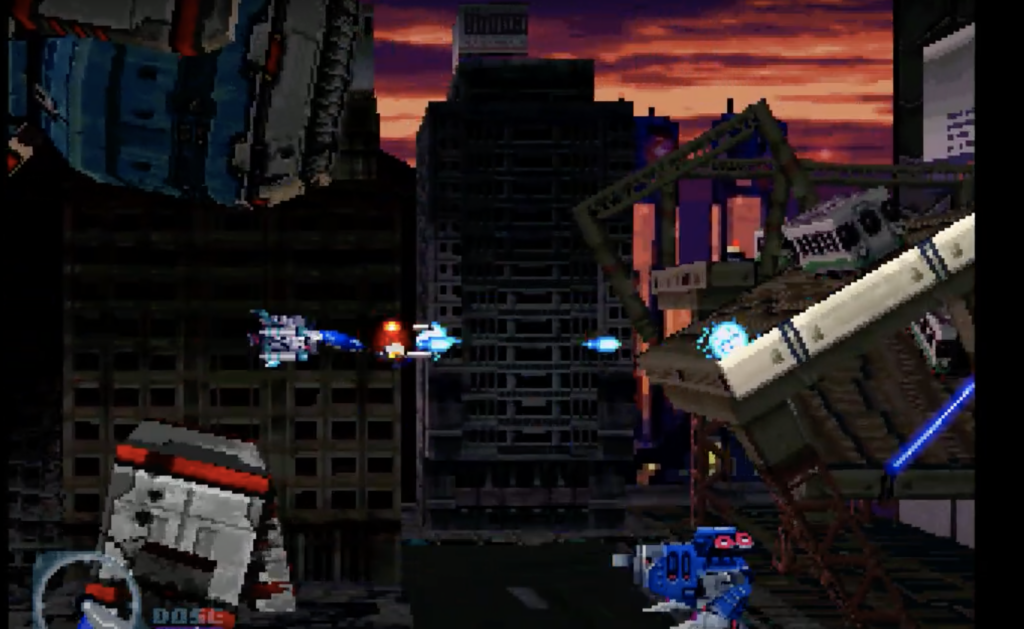
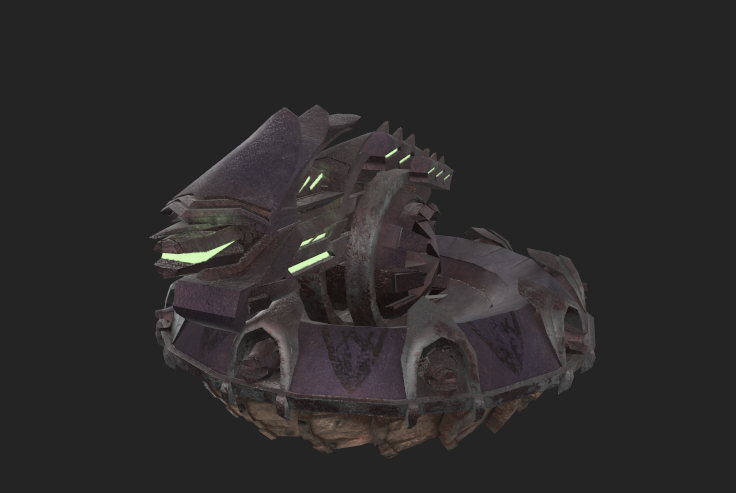
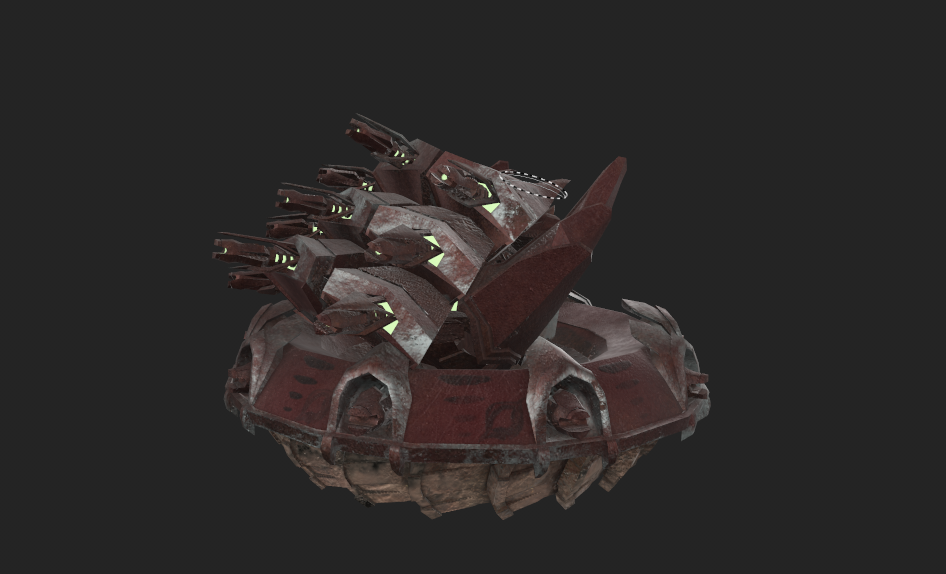
Our own ground unit had to fit both above and below to save on development time. We decided on a hover-tank style design which could look like it would attach to both the ground and ceiling. This way we could also further repurpose it by changing the firing mode by swapping the cannon model and keeping the base of the tank.
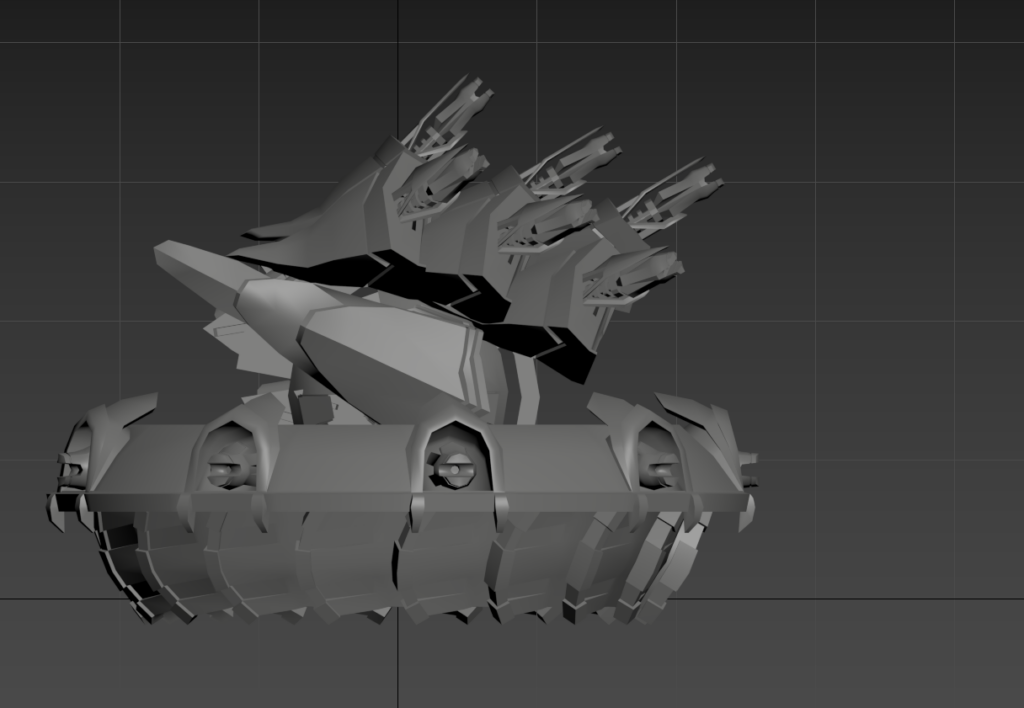
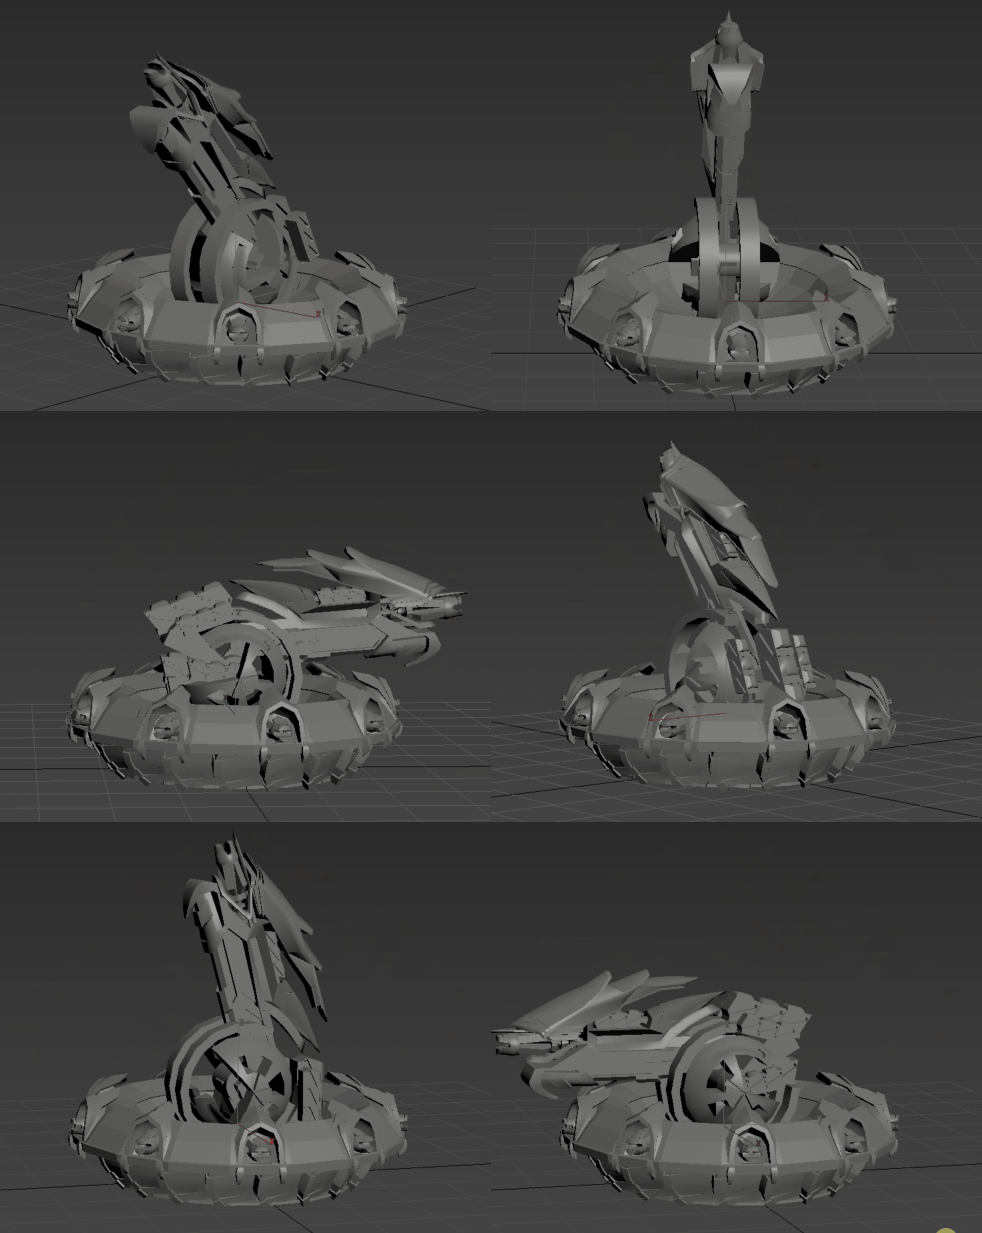
Now we had the art pipeline well established, we used the same methods as before, designing through sketches and then refining the models in 3DS Max before sending to Substance Painter to create the materials.
Next time we’ll look at how we did some of the technical effects and programming of the game including perspective tricks we used for player movement!
